This blog is about how you deal with firsts.
First of all you can avoid mistakes by studying literature (like constructing a hull that is to round). Done that.
Next thing you can do is to prepare for things that you anicipate to happen (like the breakage of the self-made coupling device half way down to the Alte Donau on the day of the first water trial; even my alltime favorite high-strength wood cornus mas/dogwood wasn't up for the job. A flexible rope coupling was the solution). Done that.
And last but not least: try to prepare for things that you do not anticipate to happen....well, you will see about that further down.
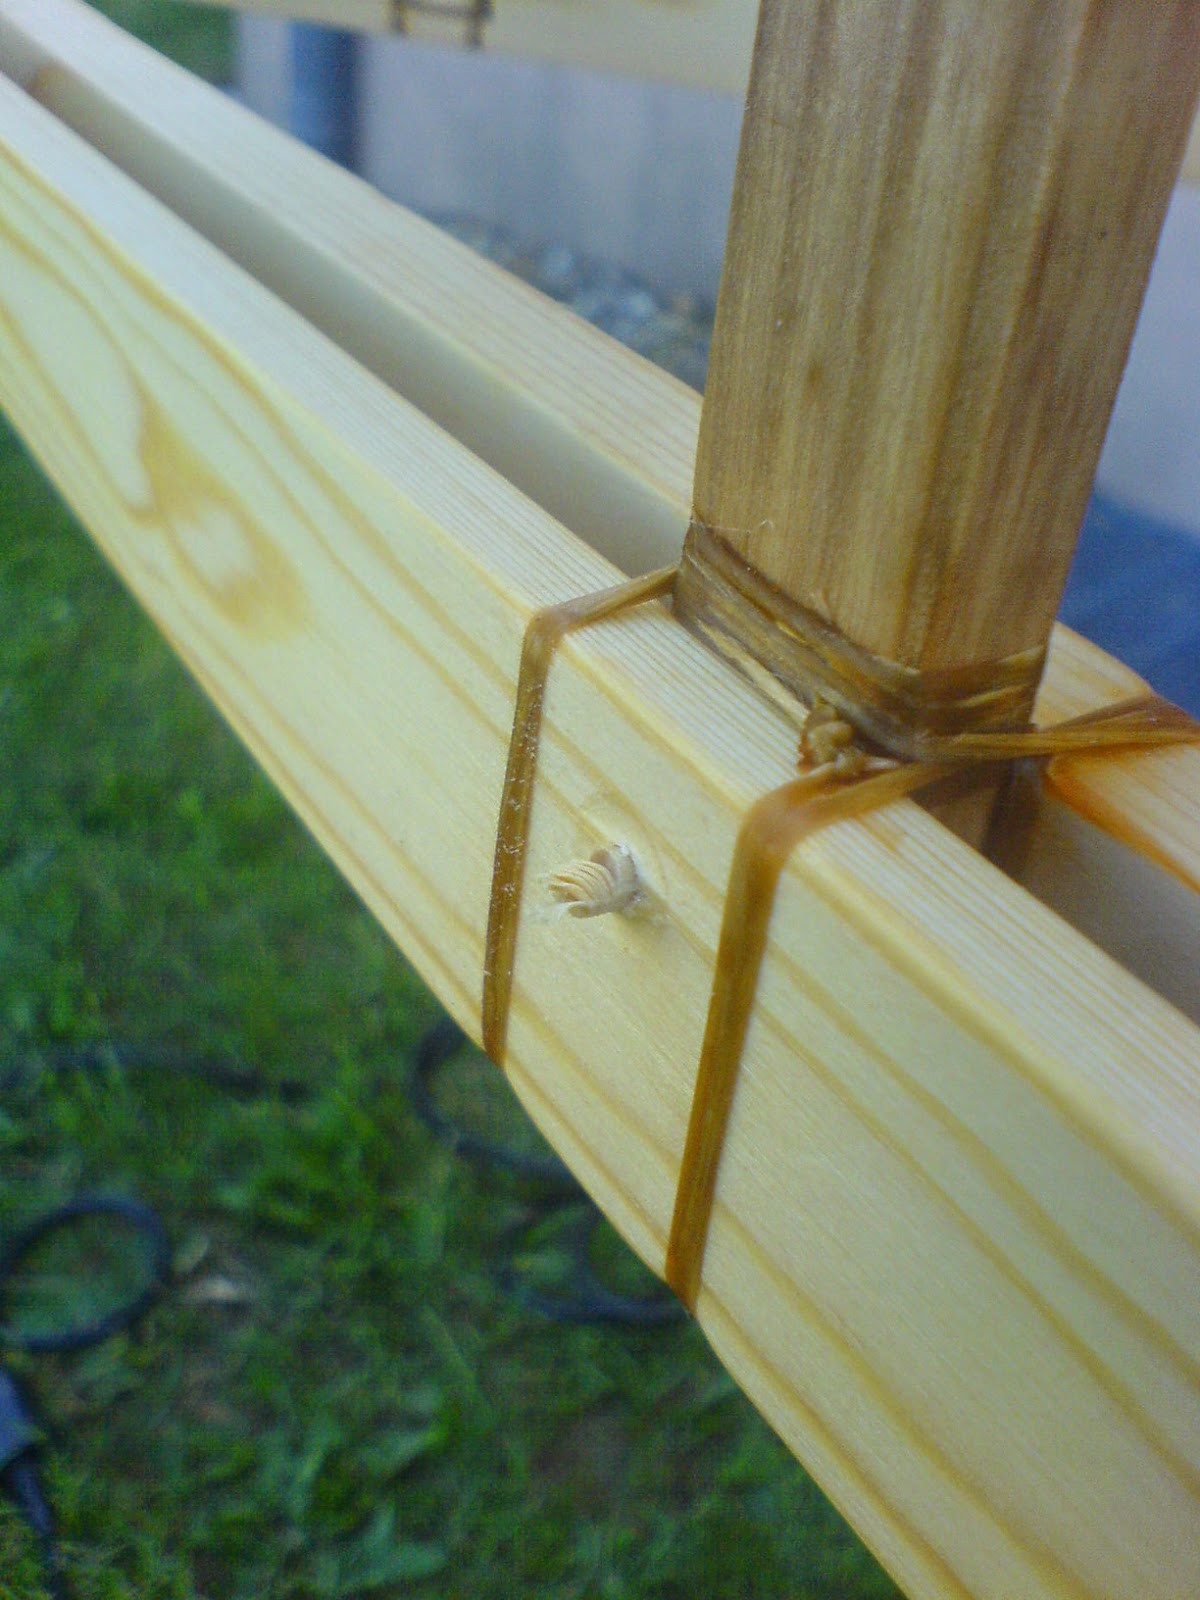
With keelson, bow and stern elements attached it is now time to lash in the sheeting/stringers.
It is the same thing with everything you do for the first time: it is very time consuming to lash in the sheeting.
After stepping back several times, watching and thinking, checking fotos again and again, here it is: the finished frame!
No comment, just a deep sense of satisfaction.
Yet another view of inner qualities. Note to the copyist: just do the minimum of lashing that is necessary to keep the stringers in the desired position, just in case you got the shape of the hull wrong!!!
Once again: no comment!
Ready for its first big test. The evening before D-Day in the living room (As I wrote in the last blog: dear copyist, do have an understanding wife;-).
D-Day: this harnessed team is going to turn heads!
Do you see the concrete pole top in the middle of the picture? It is af fixed table tennis table (what a nice noun). A perfect working platform for me down at the Dragonerhäufel at the Alte Donau. A root of a poplar broke my upper-stern 10 m away from that table. Thats what you get when you ride very low.
After a 7 kilometer ride including breakage of my coupling device, one might think that this got me upset. Nope!
Try to be prepared for the things you do not aticipate to be happening!
With tape, artificial sinew and a twig (from the very tree whose root broke my upper stern) the problem was degraded to a task and done in under 10 minutes).
Finally the boat is wraped and ready for the saran wrap test. This test tells you if you have built a hull with a reasonable stability in the water. If it goes well you can cover your frame with fabric and coat it. If not: you will have to rebend ribs and adjust the sheeting and test it again. The "if not"-option is definitely not the funny one!!!
So far so good: the craft floating unloaded!
The craft floating loaded!! And its hull is of proper shape!!! Yeeaahhhhhh!!!!!!!!!!!!!!!!!!!
The Saran wrap test is giving you about 5 to 10 minutes of paddle time. The water really rises very fast. I am deeply satisfied and a bit proud too...
I like to close this blog with many thanks to Nina, who assisted and took the pics. And one more thing for you to think about: the 5 P-Rule (Proper preparation prevents poor performance;-).
---
Soon to come: I came, I saw, I sewed!


